基于0起步来创建一个服务,做到简单的记录时间日志功能,其具体招行方法可自行添加。
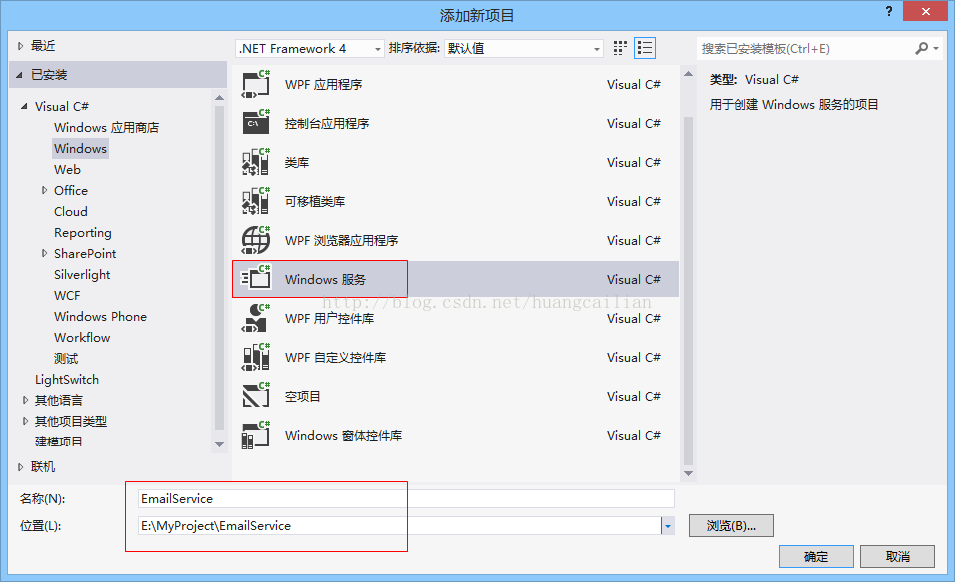
1.创建服务

2.删除默认服务文件

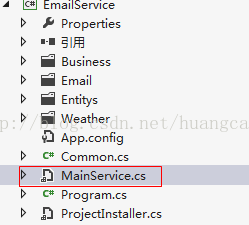
3.添加自己的服务文件

4.更改启动项目

5. 引用 using System.Timers;并添加FileClass类

FileClass类

using System;using System.Collections.Generic;using System.Linq;using System.Text;using System.IO;namespace TerminalTrance
{    public class FileClass
    {        //创建文件夹        //参数:path 文件夹路径
        public bool CreateFolder(string path)
        {            try
            {                if (Directory.Exists(path))
                {                    return true;
                }                if (!Directory.Exists(path.Substring(0, path.LastIndexOf("\\"))))
                { //若路径中无“\”则表示路径错误
                    return false;
                }                else
                {                    //创建文件夹
                    DirectoryInfo dirInfo = Directory.CreateDirectory(path);                    return true;
                }
            }            catch (Exception ex)
            {                return false;
            }
        }        //创建文件        //参数:path 文件路径
        public void CreateFile(string path)
        {            try
            {                if (CreateFolder(path.Substring(0, path.LastIndexOf("\\"))))
                {                    if (!File.Exists(path))
                    {
                        FileStream fs = File.Create(path);
                        fs.Close();
                    }
                }
            }            catch (Exception ex)
            {                return;
            }

        }        //删除文件        //参数:path 文件夹路径
        public void DeleteFile(string path)
        {            try
            {                if (!File.Exists(path))
                {                    return;
                }                else
                {
                    File.Delete(path);
                }

            }            catch (Exception ex)
            {                return;
            }
        }        //写文件        //参数:path 文件夹路径 、content要写的内容
        public void WriteFile(string path, string content)
        {            try
            {                if (!File.Exists(path))
                {
                    CreateFile(path);
                }
                FileStream fs = new FileStream(path, FileMode.Append, FileAccess.Write);
                StreamWriter sw = new StreamWriter(fs);
                sw.WriteLine(content);
                sw.Close();
            }            catch (Exception ex)
            {                return;
            }
        }        /// <summary>
        /// 将即时日志保存入日志文件        /// </summary>
        public void WriteLogFile(string directoryPath, string content)
        {            if (!Directory.Exists(directoryPath))
            {
                CreateFolder(directoryPath);
            }            try
            {                //写入新的文件
                string filePath = directoryPath + "\\" + DateTime.Now.Date.ToString("yyyyMMdd") + ".log";
                FileStream fs = new FileStream(filePath, FileMode.Append, FileAccess.Write);
                StreamWriter sw = new StreamWriter(fs);
                sw.WriteLine(content);
                sw.Close();
                fs.Close();
            }            catch (Exception ex)
            {

            }

        }
    }

}
6. 添加上步中需要的InitService()方法
/// <summary>
        /// 初始化服务参数        /// </summary>
        private void InitService()
        {            base.CanShutdown = true;            base.CanStop = true;            base.CanPauseAndContinue = true;            this.ServiceName = MainService.serviceName;            this.AutoLog = false;//为了使用自定义日志,必须将 AutoLog 设置为 false
            tim = new System.Timers.Timer();
            tim.Elapsed += new ElapsedEventHandler(tim_Elapsed);
            tim.Interval = 5000;
            tim.AutoReset = true;
        }
7. 解决System不包含windows属性问题,引用程序集。

8.添加上面引用 的 tim_Elapsed 定时方法
 private void tim_Elapsed(object sender, EventArgs e)
        {
            StartThread();
        }        /// <summary>
        /// 开始任务
        /// </summary>
        private void StartThread()
        {
            MessageAdd(serviceName + " " + DateTime.Now.ToString("yyyy-MM-dd HH:mm:ss"));
        }        /// <summary>
        ///  日志记录        /// </summary>
        /// <param name="serviceName">内容</param>
        public void MessageAdd(string str)
        {            try
            {
                fileclass.WriteLogFile(logPath, str);//写入记录日志            }            catch
            {

            }
        }
9.此时生成解决方案是成功的
10.在OnStart等中写入自己的方法,这里用日志记录
   protected override void OnStart(string[] args)
        {            try
            {                this.tim.Enabled = true;                this.tim.Start();
            }            catch (Exception ex)
            {
                MessageAdd("OnStart错误:" + ex.Message);
            }
            MessageAdd(serviceName + "已成功启动!");
        }        protected override void OnStop()
        {            try
            {                this.tim.Stop();
            }            catch (Exception ex)
            {
                MessageAdd("OnStop错误:" + ex.Message);
            }
            MessageAdd(serviceName + "已停止!");
        }        protected override void OnContinue()
        {            this.tim.Start();            base.OnContinue();
        }        protected override void OnPause()
        {            this.tim.Stop();            base.OnPause();
        }
11.给服务添加安装程序。右键鼠标单击MainService.cs[设计]*选项卡选项“添加安装程序”。

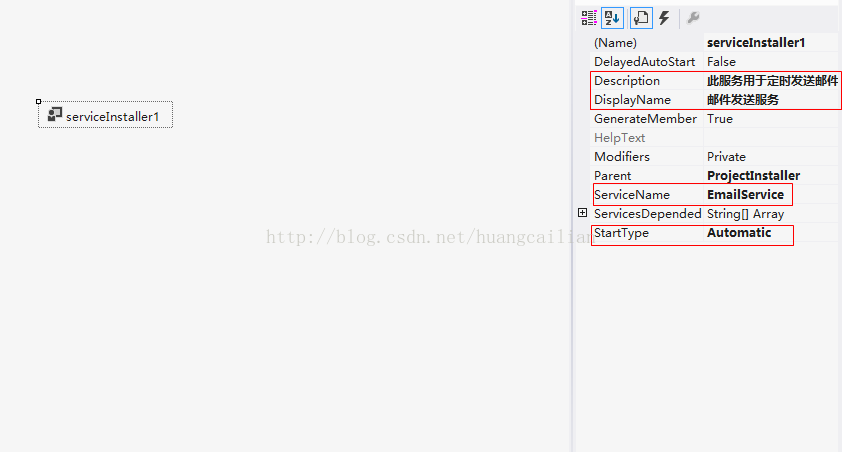
12.可以看见项目中多了如下文件和组件,serviceProcessInstaller1、serviceInstaller1是自动生成的

13.设置组件serviceInstaller1的主要属性,StartType: AutoMatic自动启动;ServiceName: 服务系统标识,在cmd命令中执行sr start/stop/query等等命令时候使用,用来唯一标识一个Window服务

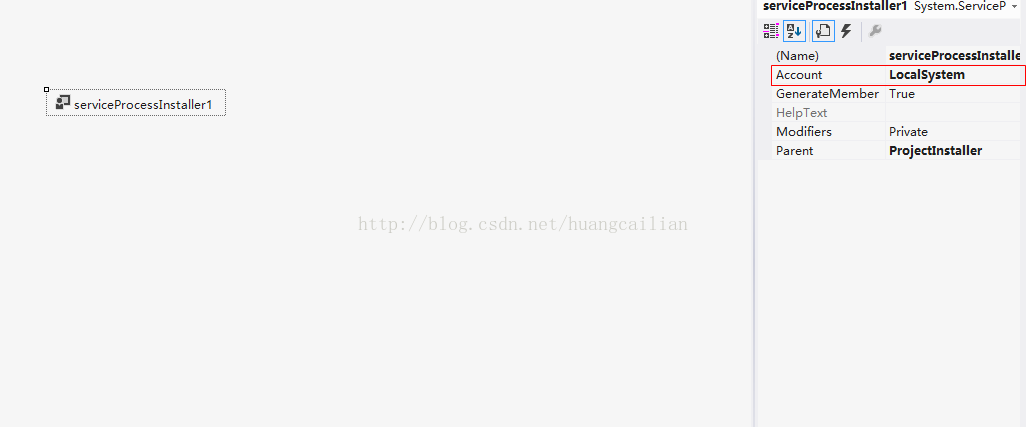
14.设置组件serviceProcessInstaller1的主要属性,Accout:账户类型,LocalSystem本地系统服务;

15.设置服务安装后“允许和桌面进行交互”,
需要在ProjectInstaller.cs中添加如下代码。
using System;using System.Collections;using System.Collections.Generic;using System.ComponentModel;using System.Configuration.Install;using System.Linq;namespace TerminalTrance
{
    [RunInstaller(true)]    public partial class ProjectInstaller : System.Configuration.Install.Installer
    {        public ProjectInstaller()
        {
            InitializeComponent();
        }        protected override void OnAfterInstall(IDictionary savedState)
        {            try
            {                base.OnAfterInstall(savedState);                // 允许服务桌面交互
                System.Management.ManagementObject myService = new System.Management.ManagementObject(string.Format("Win32_Service.Name='{0}'", this.serviceInstaller1.ServiceName));

                System.Management.ManagementBaseObject changeMethod = myService.GetMethodParameters("Change");

                changeMethod["DesktopInteract"] = true;

                System.Management.ManagementBaseObject OutParam = myService.InvokeMethod("Change", changeMethod, null);

            }            catch (Exception ex)
            {

            }

        }
    }
}
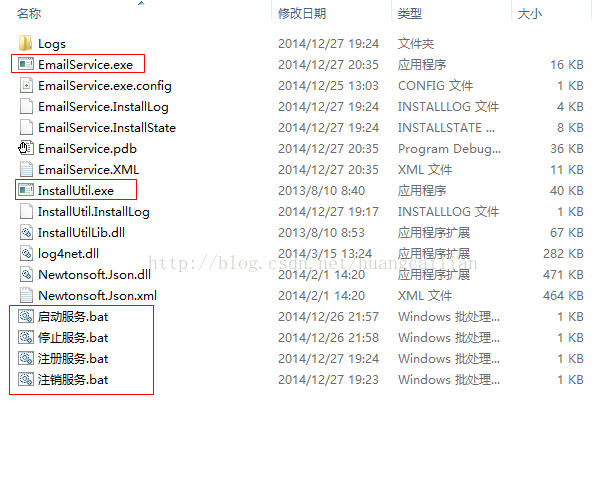
16.Windows服务的安装和卸载
代码写完后,编译通过后,就可以安装、卸载、调试服务了。
在执行安装或卸载服务前,我有把服务需要的相关文件,复制到C:\Service\下面或其他路径。一旦安装完成后,此目录不能变更,否则不能卸载该服务和服务运行会报错。
安装、卸载很简单,只要在VS命令行导航到,服务程序的路径。然后运行以下命令就OK了。
打开如图:

安装服务:installutil C:\Service\TerminalTrance.exe
卸载服务:installutil /u C:\Service\TerminalTrance.exe
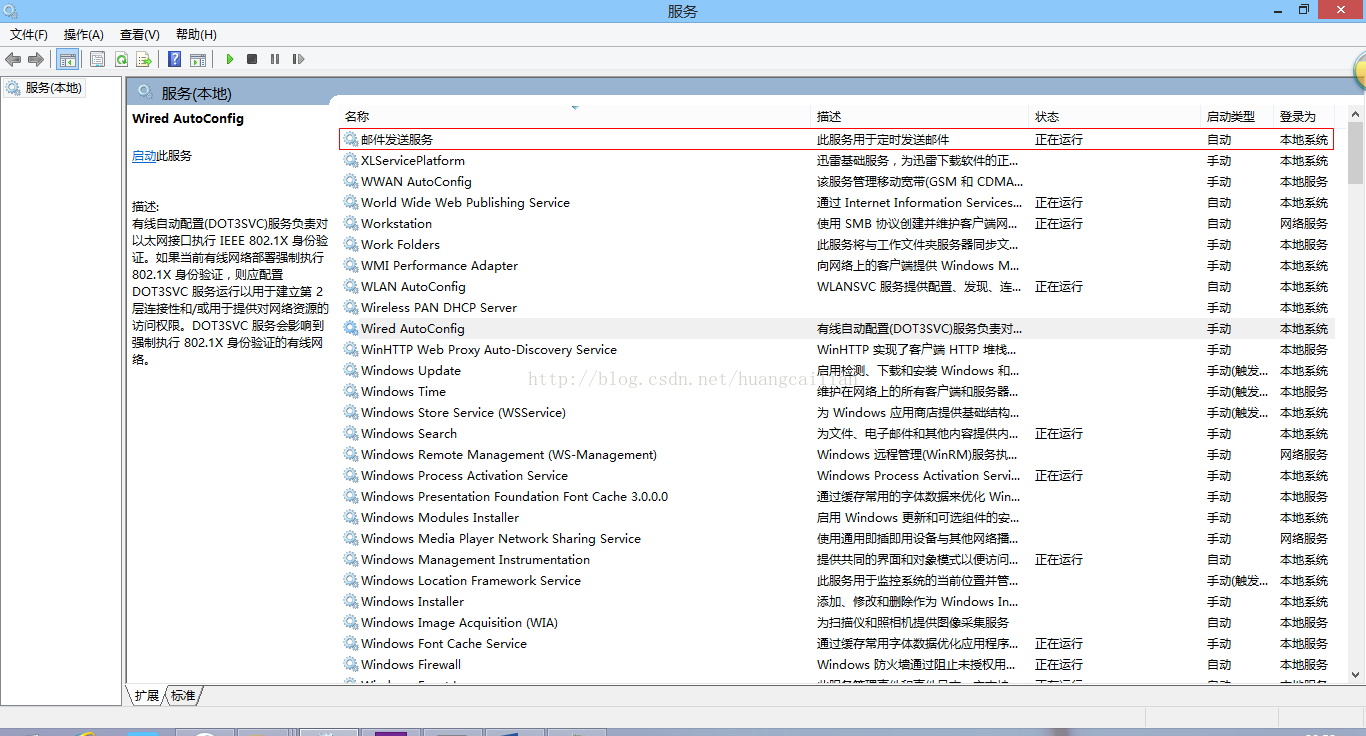
调试的话,只能先安装启动服务,然后将该服务附加到进程,就可以调试了。安装好服务后,就可以在win7服务管理里面,管理刚刚启动的服务了。
安装成功后可在服务中看到

在服务程序中可以看到添加的服务

可以看到程序的日志记录

另外一个方法是生成安装exe程序
1.解决方案右键=》新建项目=》选择安装程序

2.安装项目右键=》添加=》项目输出,选择主项目

3.安装项目右键=》视图=》自定义操作
4.自定义操作=》安装右键=》选择主输出

5.卸载右键=》选择主输出
6.若有文件需要添加到安装后的文件夹中=》点击应用程序文件夹=》添加=》文件,选择文件。安装后就会生成指定文件。

7.生成程序,完成,Setup文件夹中找到exe安装文件执行就 OK了。卸载也是执行此exe,按提示下一步就OK。
作者:欢醉
公众号【一个码农的日常】 技术群:319931204 1号群: 437802986 2号群: 340250479
出处:http://zhangs1986.cnblogs.com/
码云:https://gitee.com/huanzui
本文版权归作者和博客园共有,欢迎转载,但未经作者同意必须保留此段声明,且在文章页面明显位置给出原文连接,否则保留追究法律责任的权利。